[continued from part III]
Until now we operated under the assumption that GoldKey tokens were already provisioned with PIV credentials. But that side-steps the question of how these key-pairs and certificates got there in the first place. The tokens arrive in a completely blank state, while PIV standard NIST SP800-73 defines several required objects such as CHUID, security-object, X509 certificates along with multiple containers that can cryptographic keys for different algorithms. Compare to the ongoing use of GoldKey, provisioning credentials turns out to be an involved problem, especially when the qualifier “on OS X” is thrown in. On Windows, there is a straightforward way using the standard certificate request path, with no manual software installation required in the best-case scenario. On other platforms the story is more complicated. Luckily provisioning and maintenance operations are infrequent. Worst case scenario they can be punted to enterprise IT department when there are special hardware/software requirements involved, much like printing employee badges.
Hierarchy of tokens
First let’s tackle a simpler problem: clearing an existing token and restoring it to original blank configuration. This turns out to require not just software but hardware support. GoldKey defines a hierarchy of tokens, with regular tokens managed by a master and masters in turn managed by a grandmaster token. Master tokens can perform administrative operations on a plain vanilla token. This functionality is accessed via the “Management” button under GoldKey information:
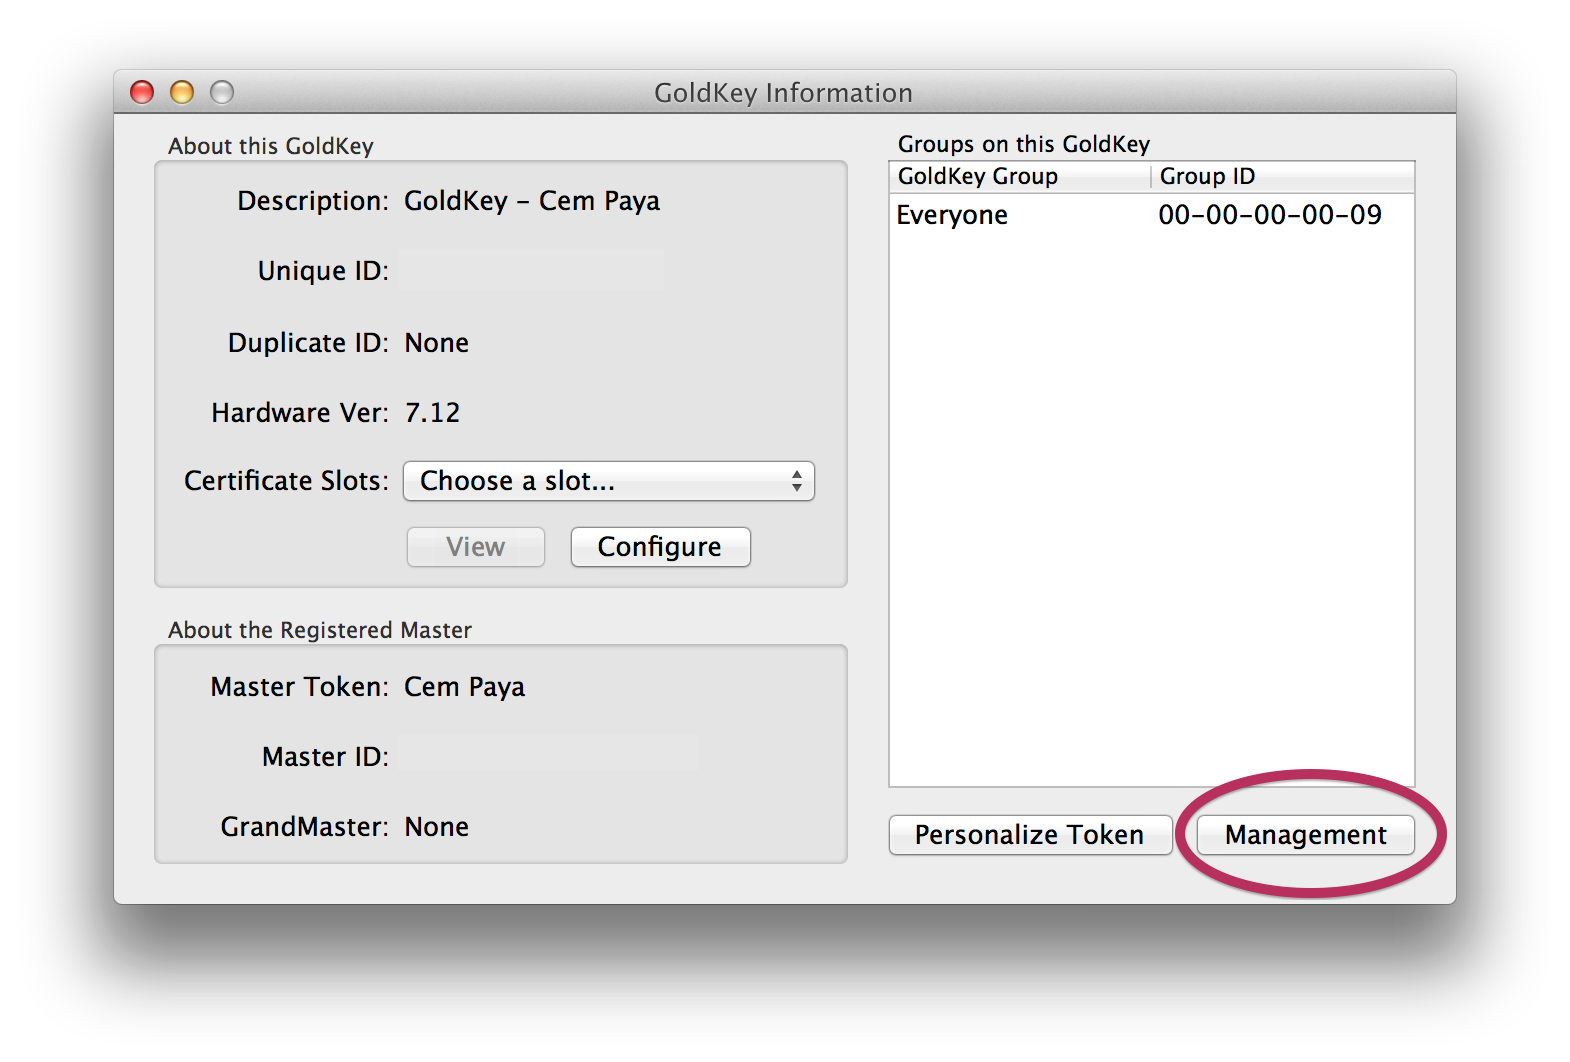
Accessing token management features
Dialog for managing GoldKey
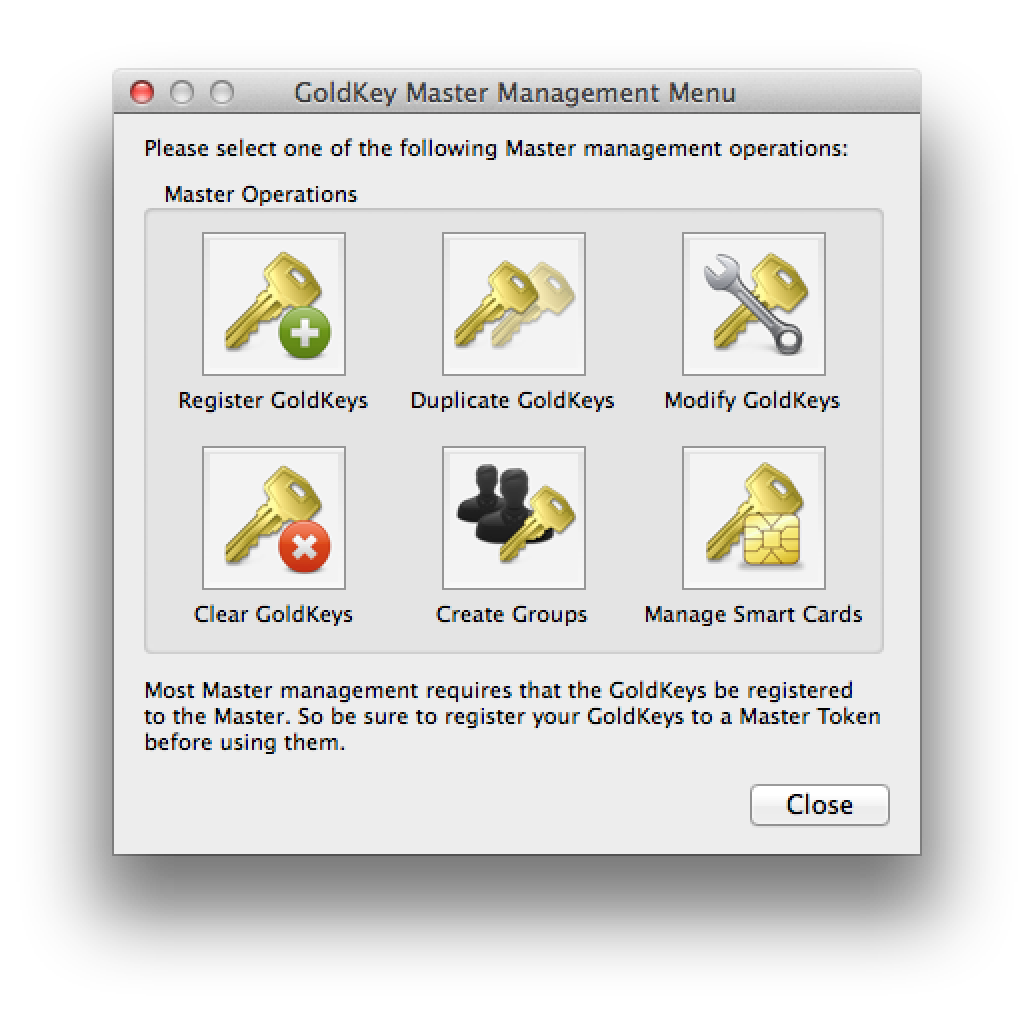
These all require having a master or grandmaster token. And it’s not just any master token, but the specific unit that this particular GoldKey was associated with during personalization phase. No such foresight or planning involved during personalization? Not to worry: any master token can be used to completely clear out all data on that GoldKey and return it to clean slate configuration for re-personalization from scratch.
Provisioning with a master token
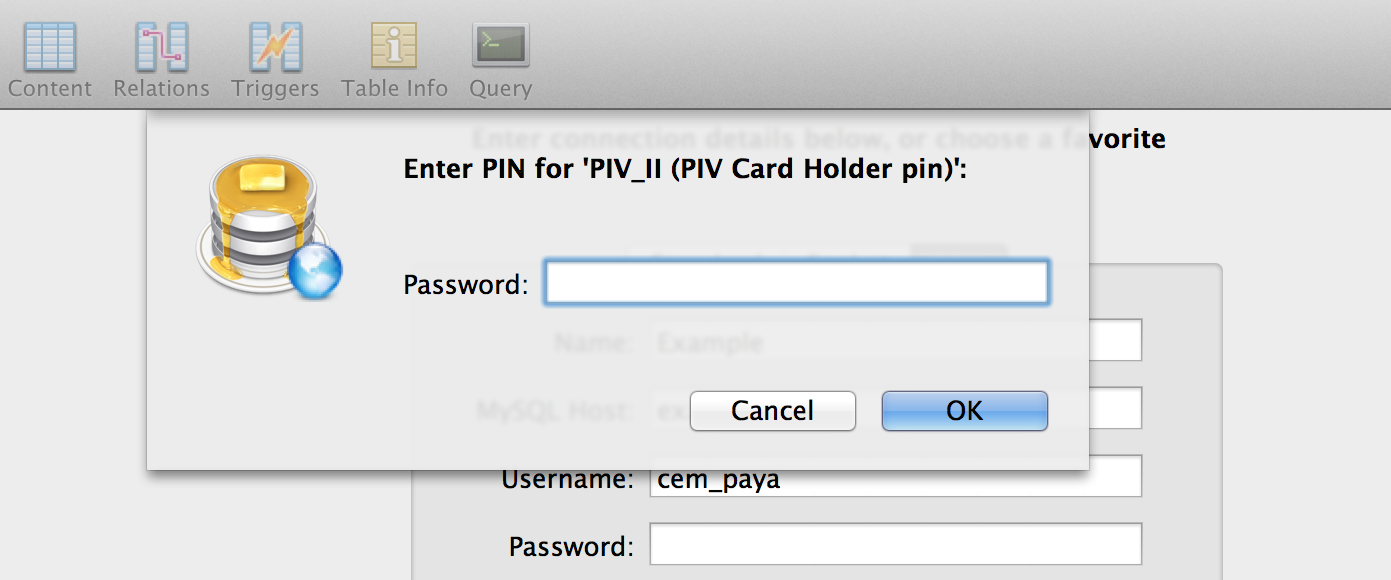
The same UI has an option labelled “manage smart cards” which sounds promising.

UI for managing certificates
This allows provisioning into any of the 4 standard key types defined in the standard: PIV authentication, key-management, digital signature and card-authentication. But going down that path has an important caveat: it can only be used to provision from a PFX file, which is the MSFT variant of the PKCS12 standard. This format contains both the X509 certificate and associated private-key. But that means key material must be already available outside the token before one can import it, defeating one of the benefits of using cryptographic hardware tokens: secrets are generated on-card and never leave the secure execution environment.
Using the Windows mini-driver
Doing on-board key generation turns out to be fairly straightforward when using Windows with the GoldKey smart-card mini-driver installed. Recall that Windows has plug-and-play detection for cards and under normal circumstances will download the correct mini-driver from Windows Update. But in case the system associates a generic PIV driver instead of custom GoldKey one, it is possible to override that manually from device manager. Once correct driver is mapped, the built-in certreq utility can trigger key-generation and certificate loading.
One word of caution: GoldKey has a support article with example INF for generating self-signed certificates. Curiously the INF file used in that example does not perform key-generation on the token; it is not overriding the default cryptographic provider name to point at smart-card provider. (Fast key generation is a sign that it happened on the host. It takes about 30 seconds for 2048b RSA key to be generated, during which time the blue LED will blink.)
Also worth noting is that running certreq twice will not replace the existing PIV authentication key and associated X509 certificate. Instead it will provision to one of the other slots compatible with the specified usage, which turns out to be the key-management key. Clearing the original PIV authentication requires going back to the GoldKey client and using a master-token as described above.
What about on-board key generation from OS X or Linux? Not surprisingly, this is not supported by vendor software but it is achievable using open-source alternatives. After all, PIV standard defines a GENERATE ASYMMETRIC KEY command for doing key-generation on the card. Leveraging this via open-source utilities (and some quirks of GoldKey tokens) will be the subject of another post.
CP

You must be logged in to post a comment.